
We started looking into AI tools quite late. We tried Midjourney DALL-E and other tools in the early days but could not see actual use for them in the workflow of an ArchViz studio.
Then we started seeing some work and short videos that seemed to be relevant and we decided it was time for a new attempt. Stable Diffusion seems to be the most immediate possibility to implement AI in the workflow efficiently. There are already studios using it so it can be done effectively.
We are not going to do a tutorial on anything specific but rather collect relevant sources we followed and explain the general process behind the generations of the images you see in our socials these days.
If you don’t know anything at all about Stable Diffusion and want to have a comprehensive overview, we recommend a tutorial we found on LinkedIn Learning by Ben Long. It is amazing how clearly he can explain how things work in A1111.
If you (like us) don’t even know how to install Stable Diffusion and A1111, it is explained in the course and also in this video by Ava ArchvizArtist.
Once you have made friends with the interface and start producing something, it all boils down to a few things:
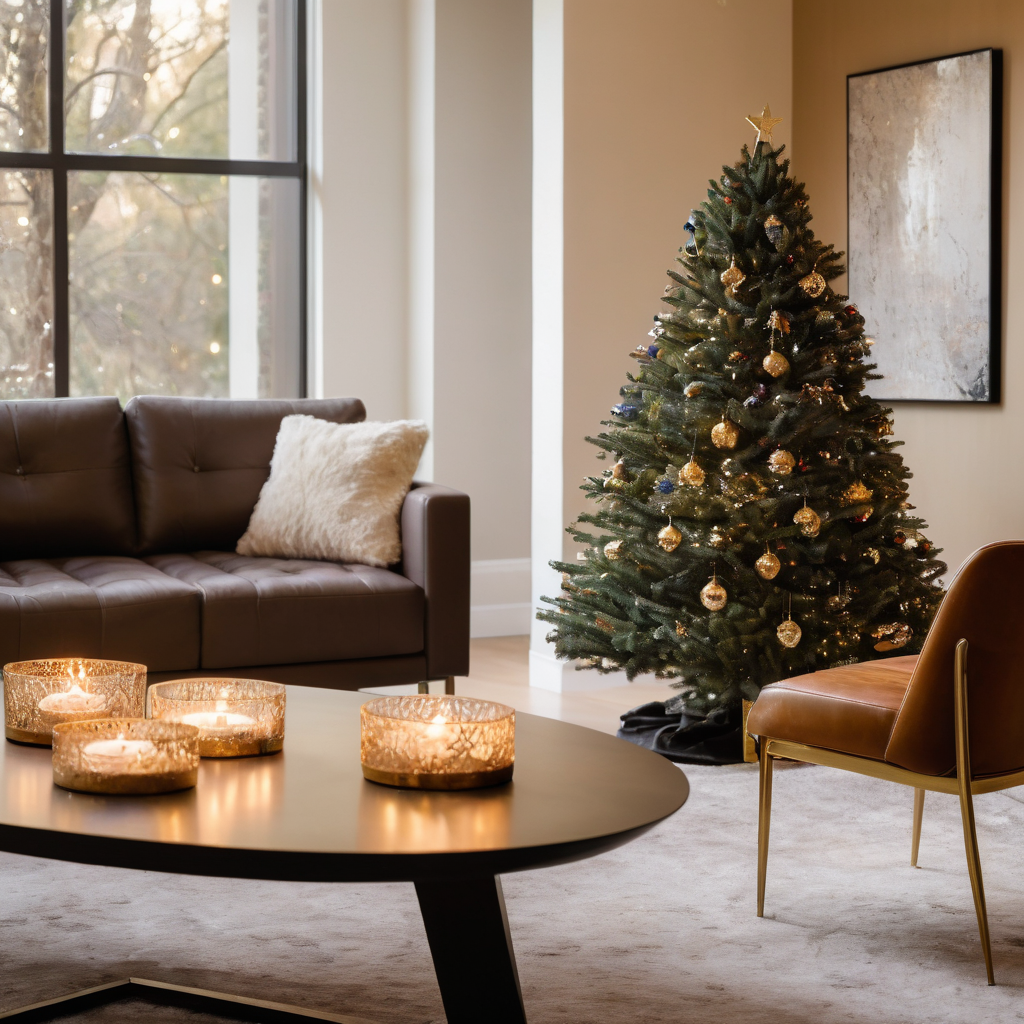
Models _ To get good-looking images consistently, you need a well-trained model installed. For these images, we played with two models that gave us good results with no effort.
Iterations & patience _ There is a high degree of randomness in the AI image creation. You have to test things and to fine-tune everything. The good thing is that there is no right or wrong. You will try and see if the direction is the one you like or you will pivot if it is not.
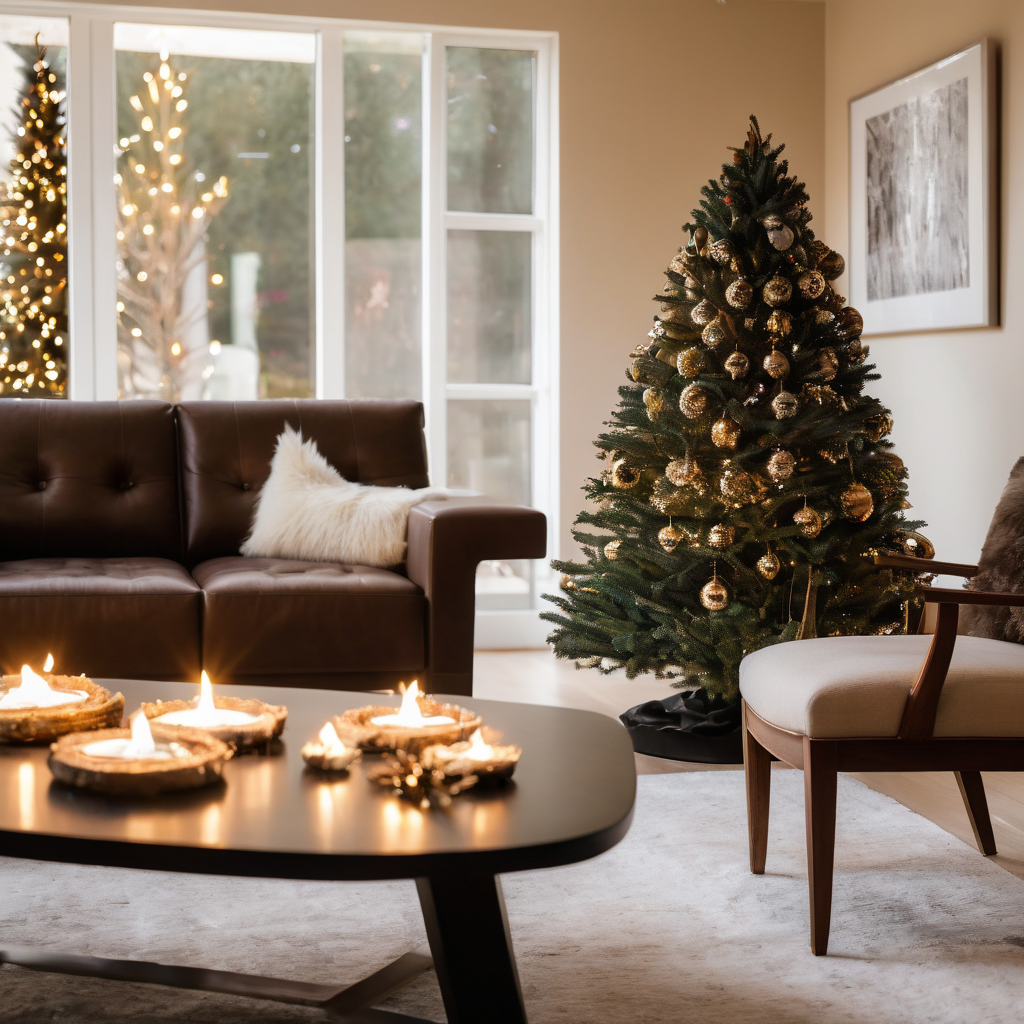
A basic knowledge of the tool _ To narrow down the results you will get, you need to know what to do. We will share what we did to get somewhat consistent results as you see in the gallery below.
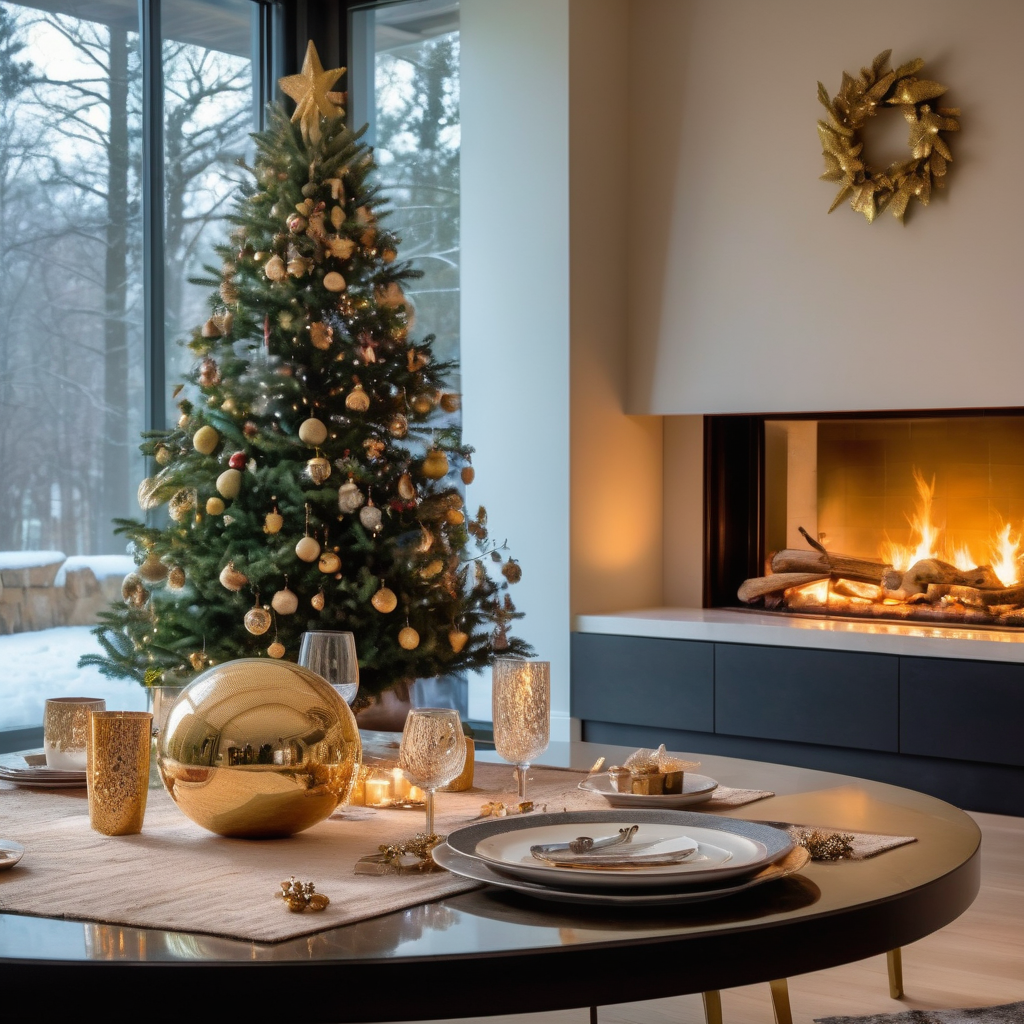

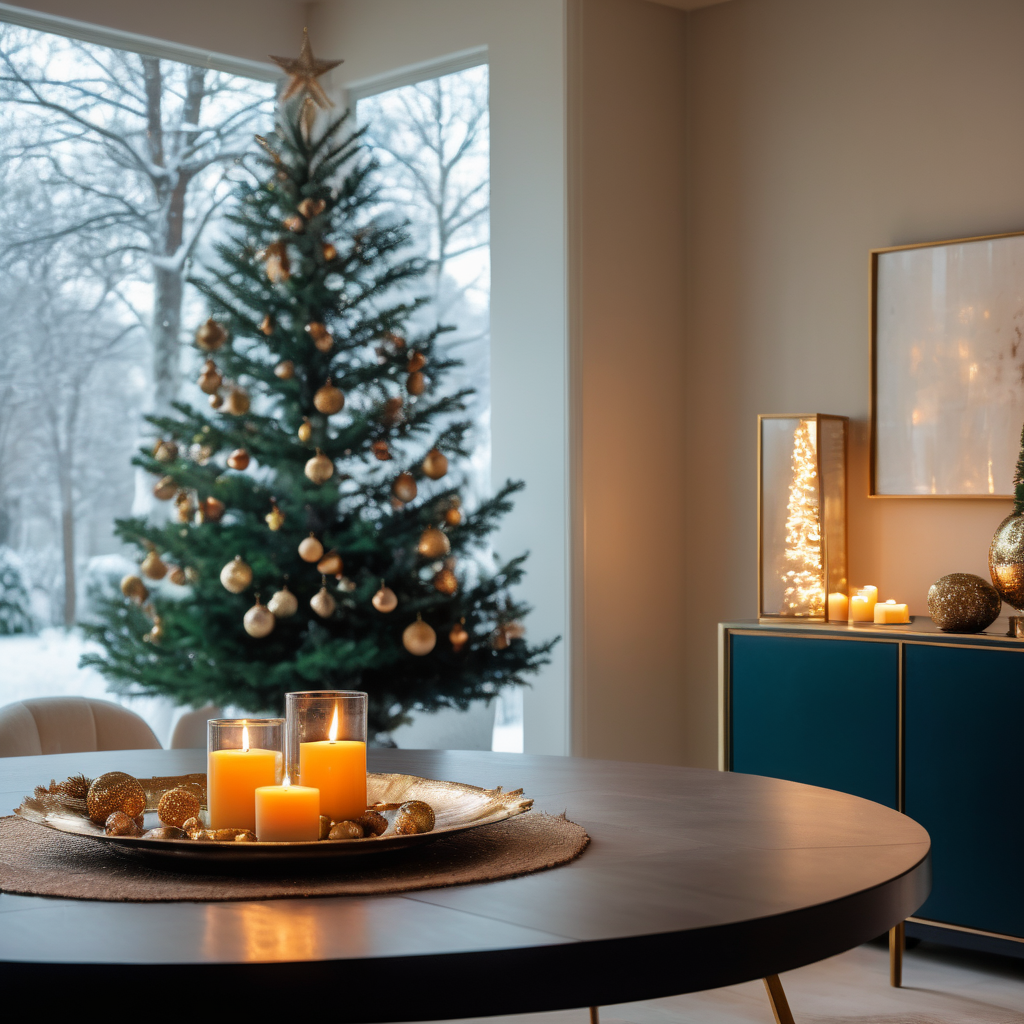
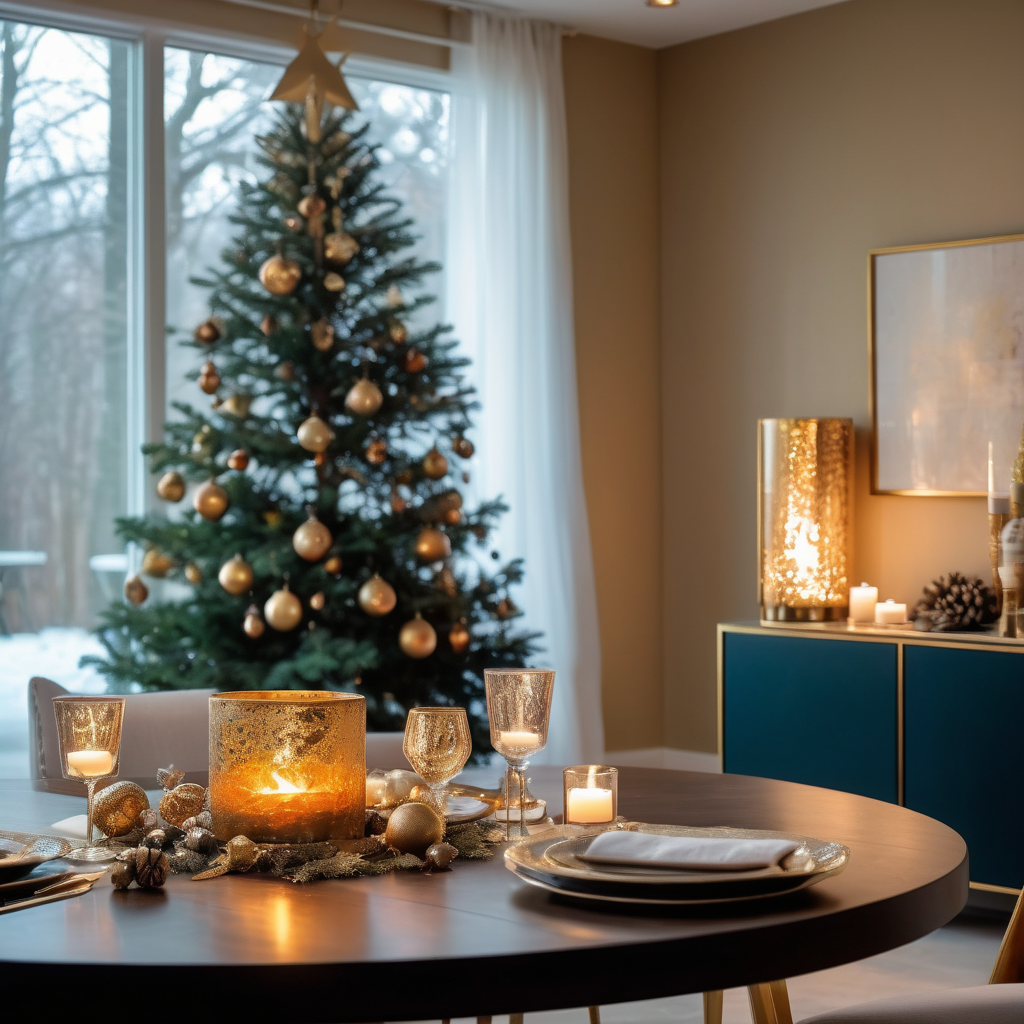

To speed the testing process up in this stage, we used the automatic scripts built into A1111 to: test different models, different prompts, and different combinations of parts of the prompts. On top of that, we rendered bigger batches of images. A high batch count combined with a random seed will give you more images out of the same prompt. A prompt matrix combination will help you understand what parts of your prompt are more relevant than others, different prompts will give you completely different results as will the use of different models, etc…This is the time-consuming part. You have to test. It is all explained perfectly in Ben’s class.
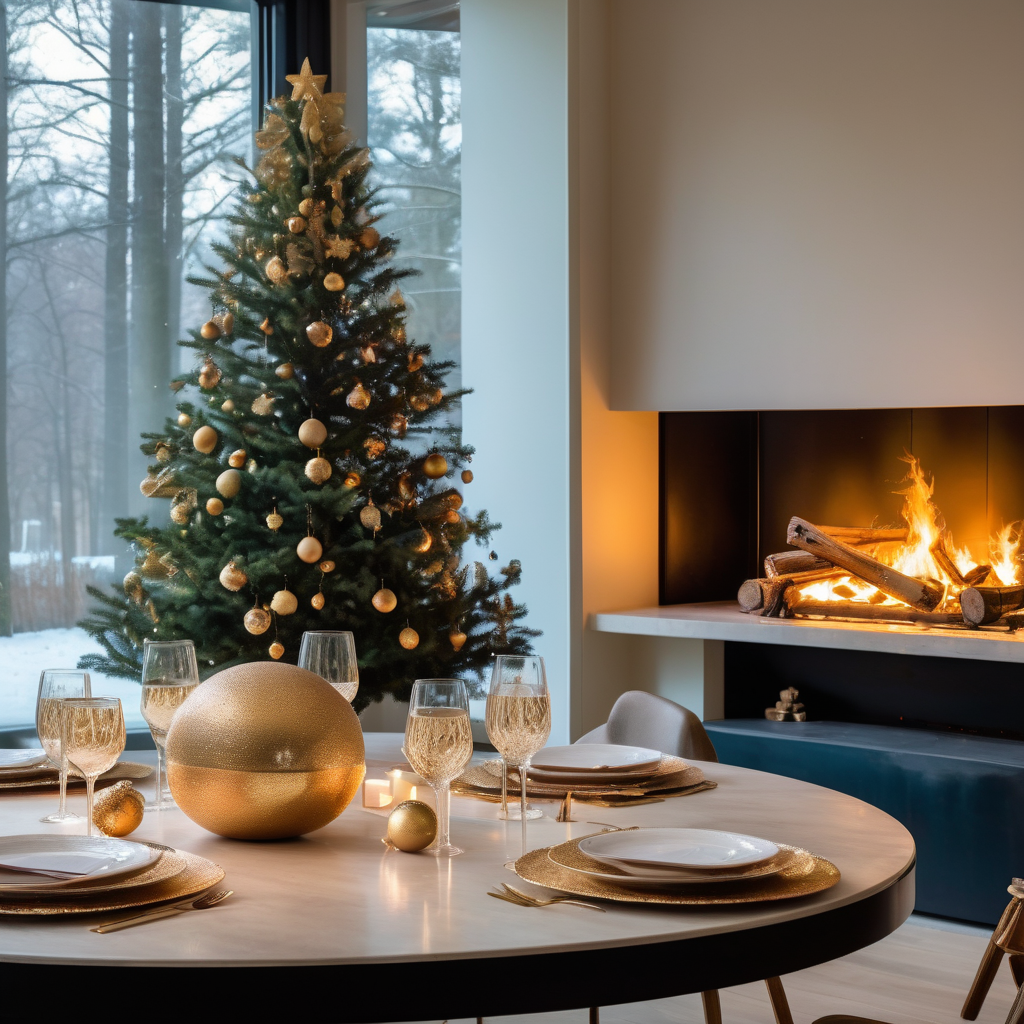
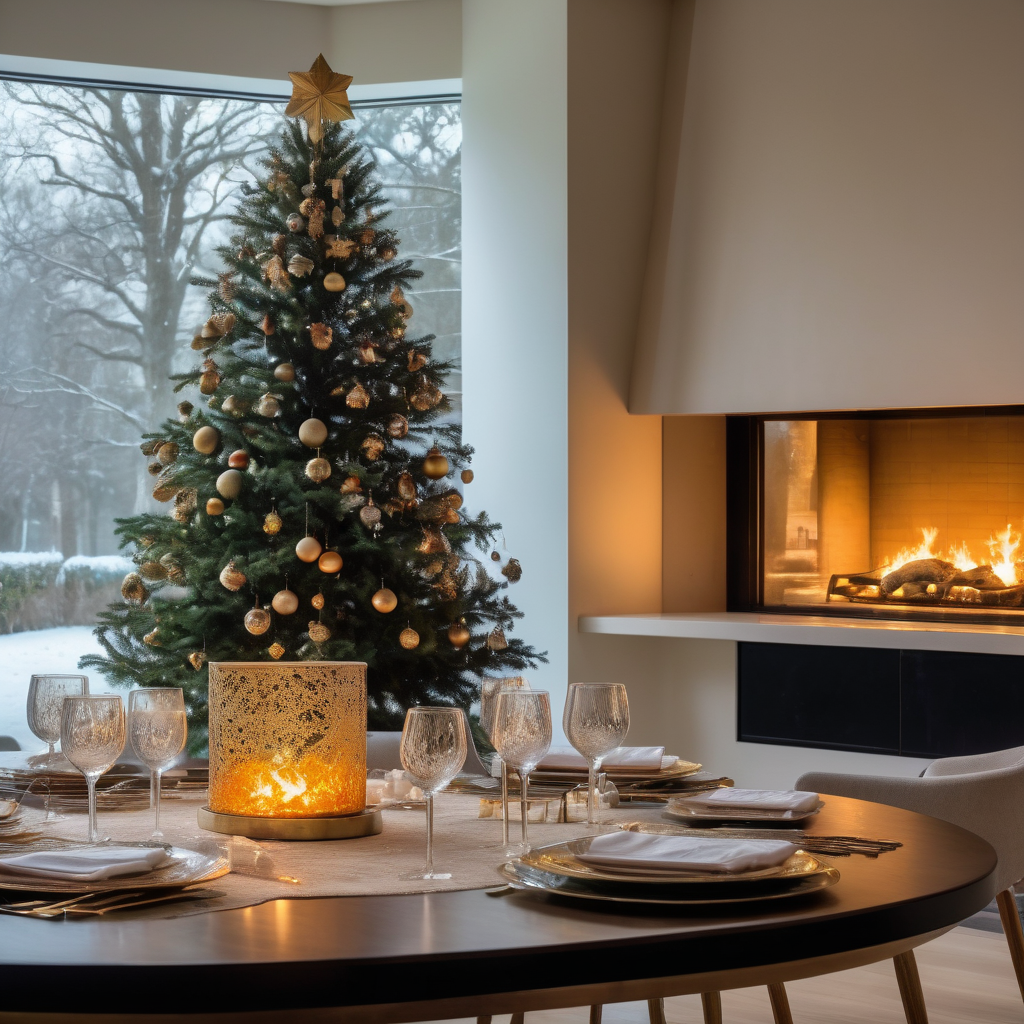
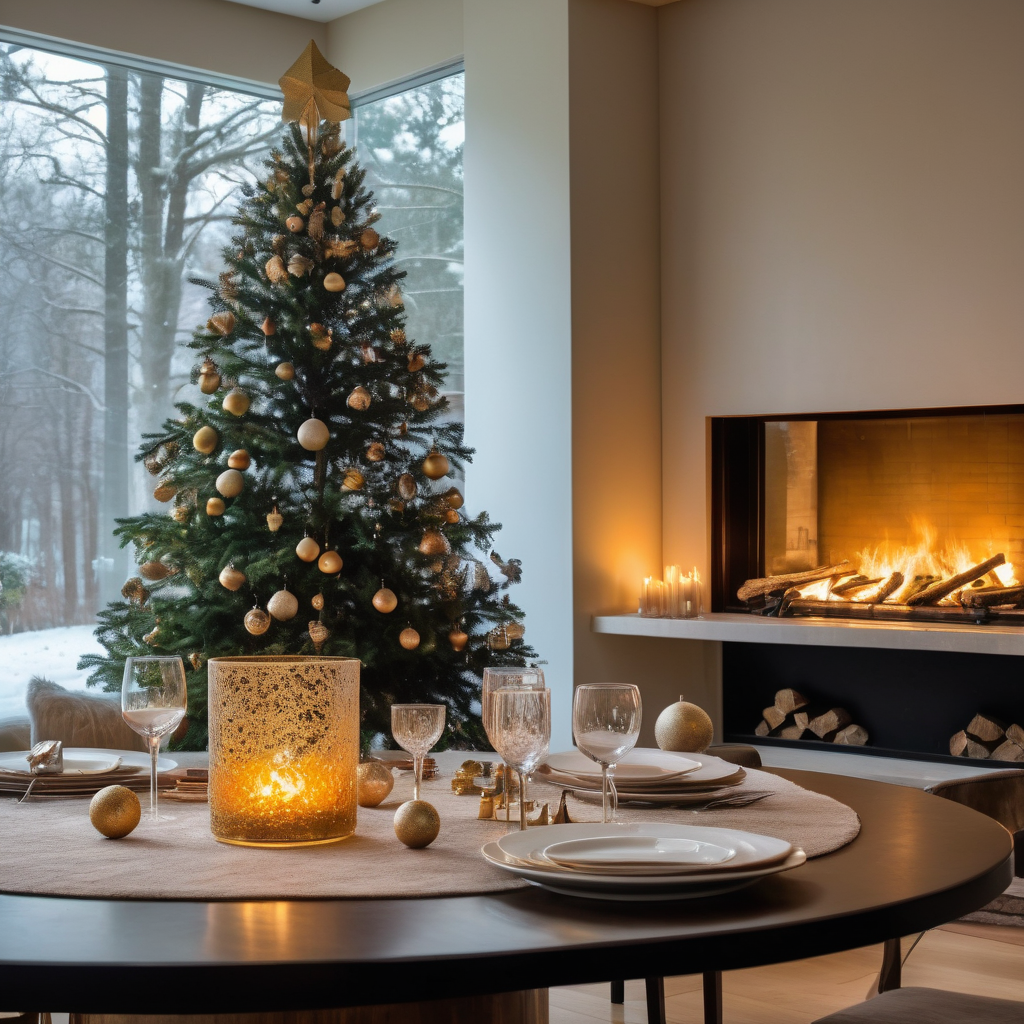
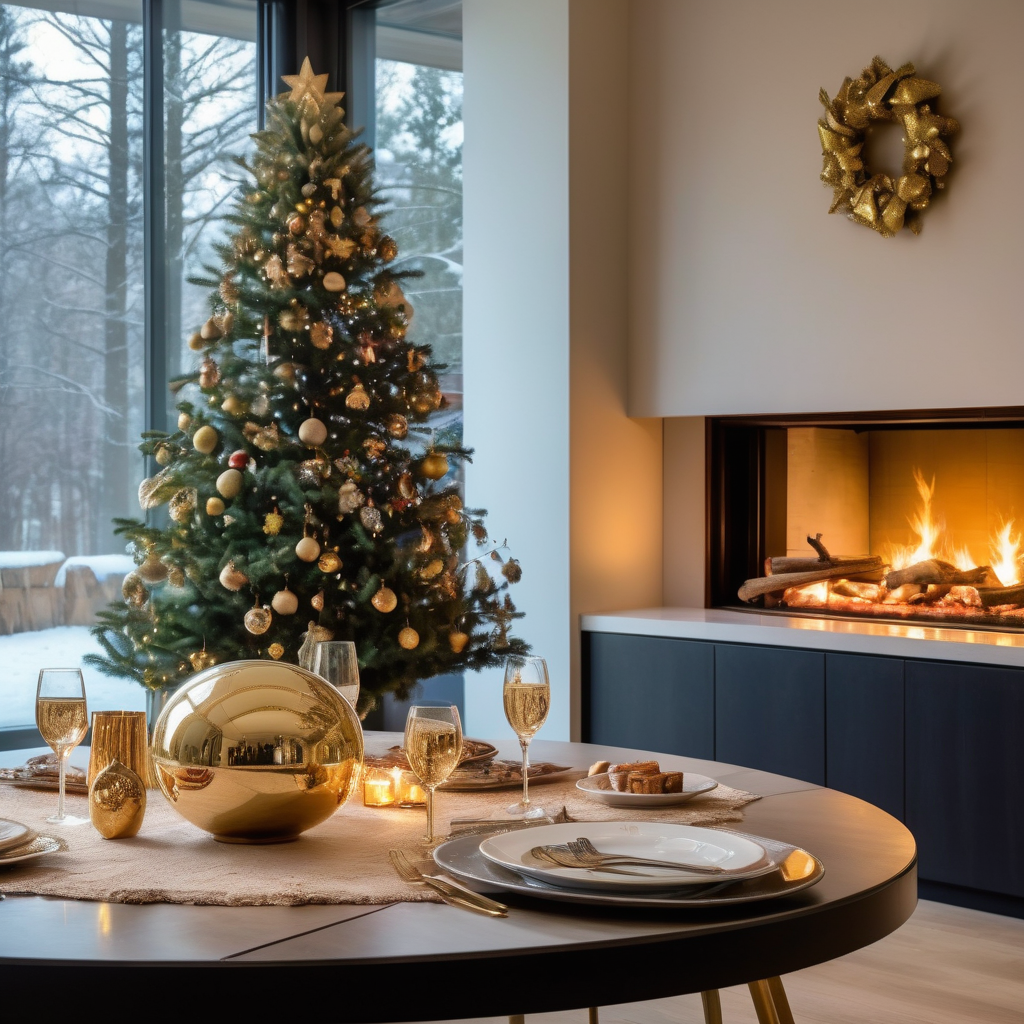
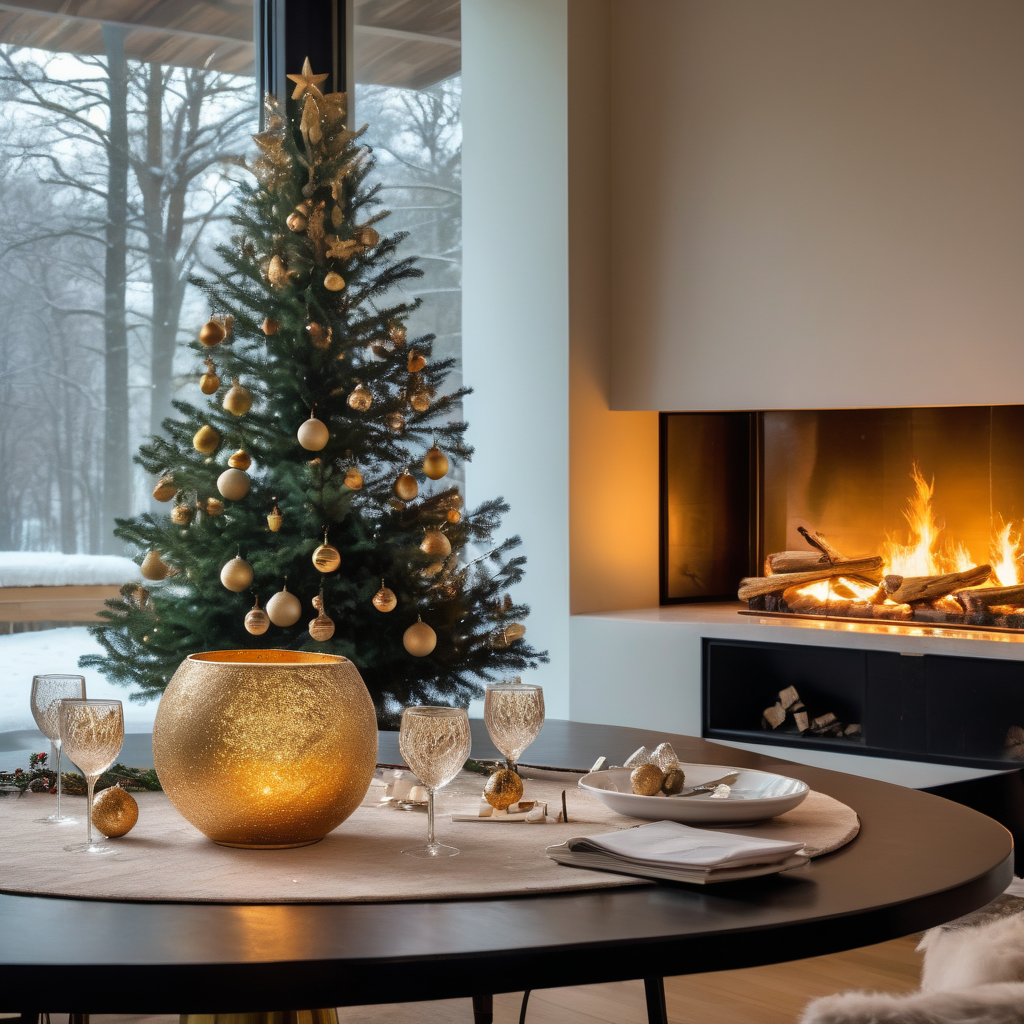
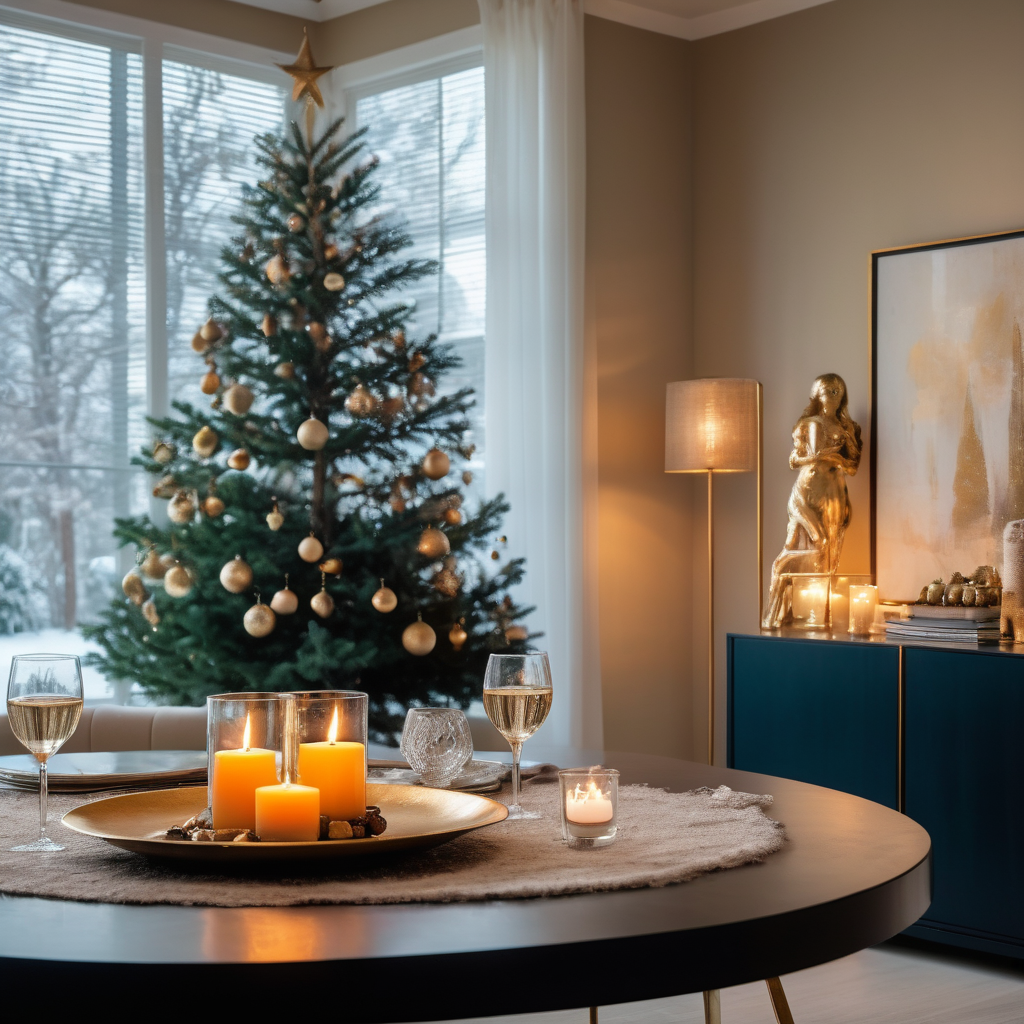
From these batches, we selected 3 images we liked. We wanted more variations of those images with subtle variations.
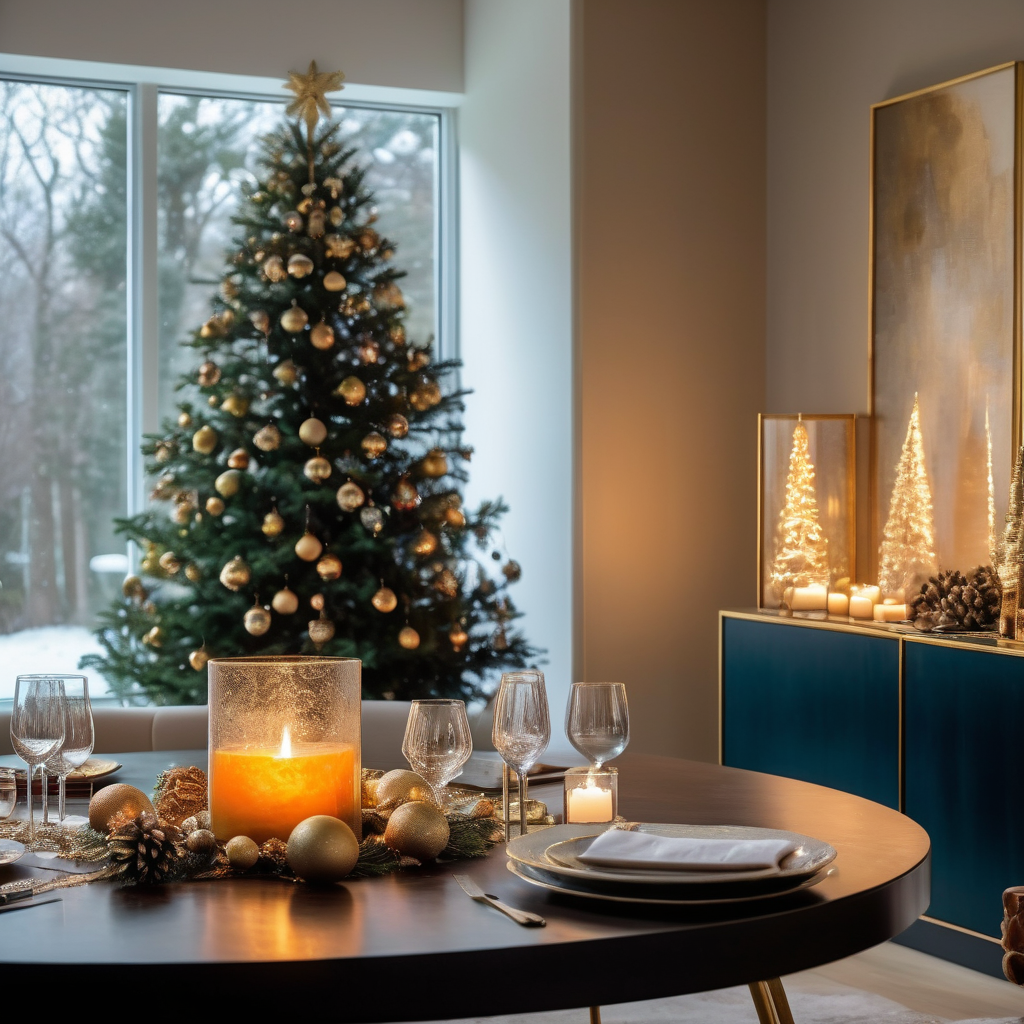
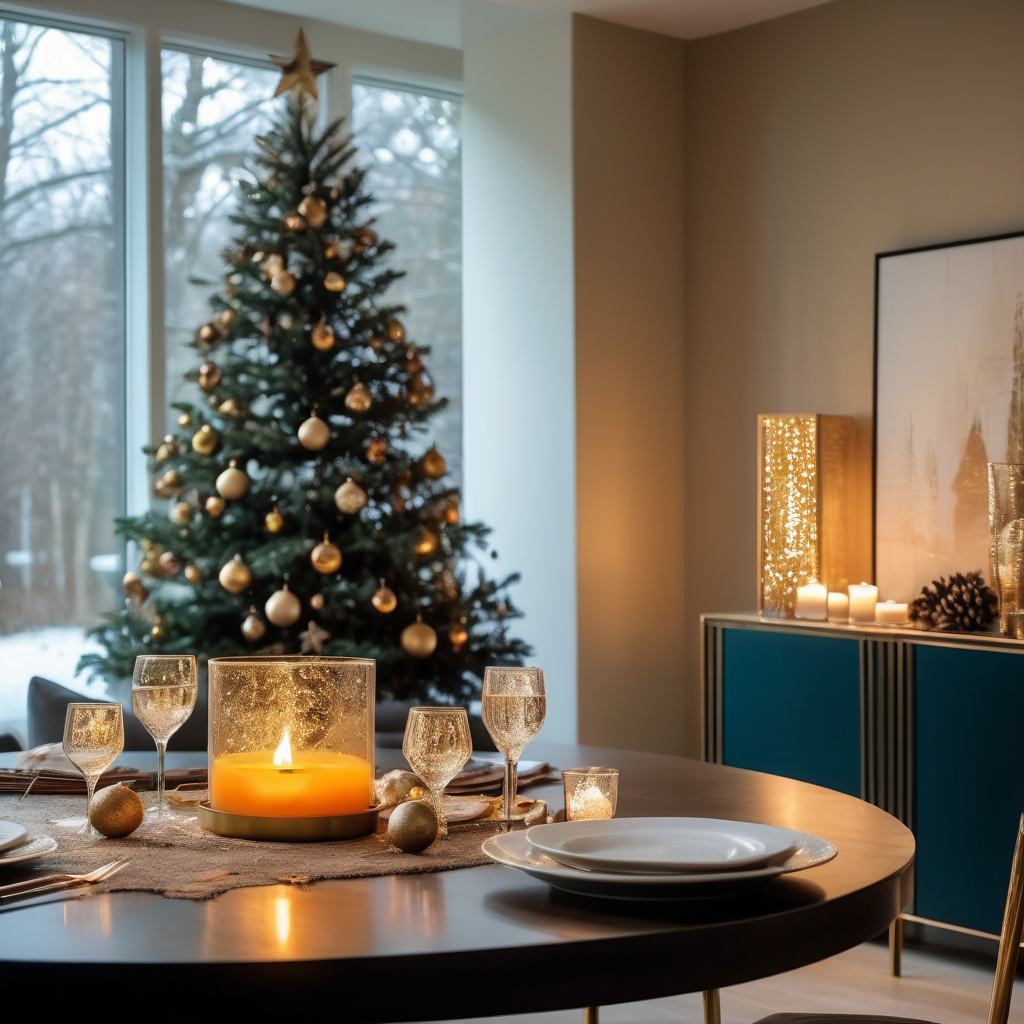
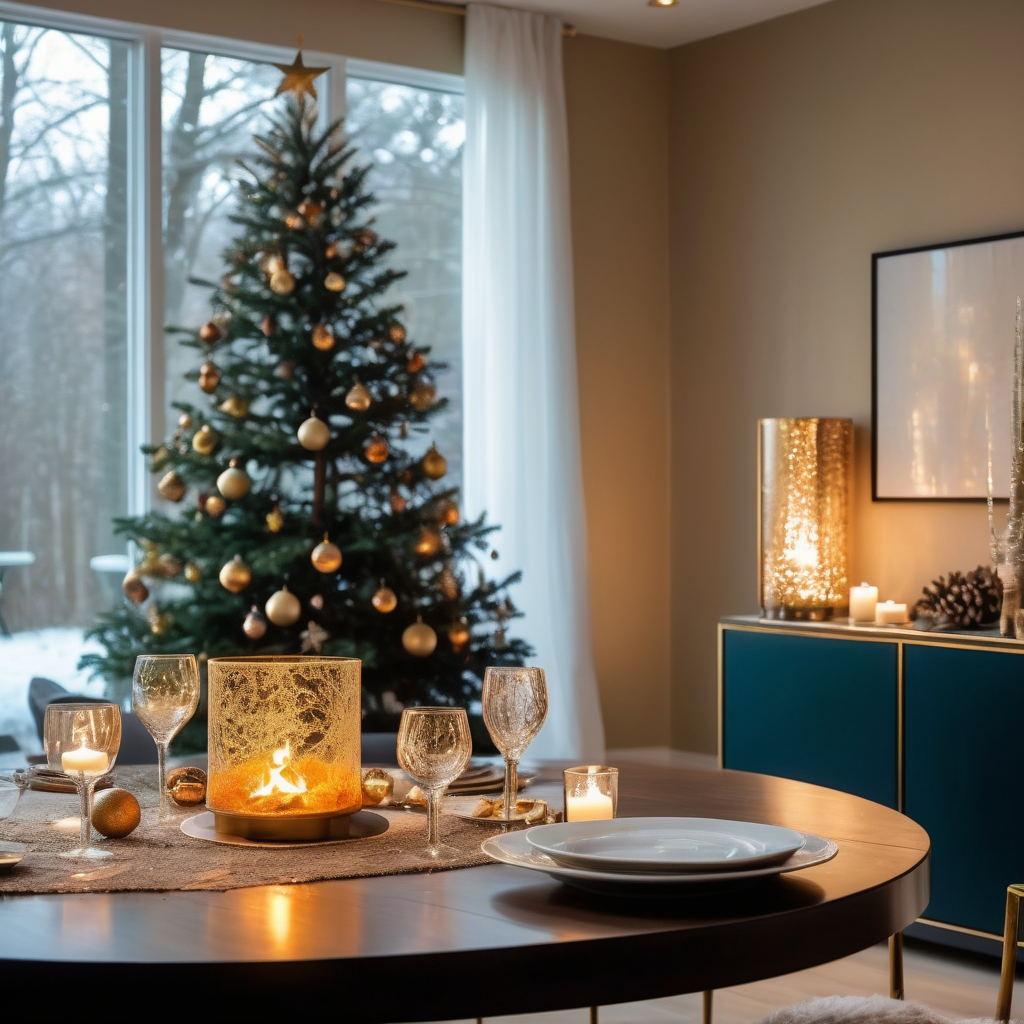
To get subtle variations of one specific image, the best way we found is to fix the seed. We got the seed for each selected image from the .pgn info tab. For each image, we changed a bit the prompt and ran more tests. The fixed seed will make sure that the image doesn’t change drastically.
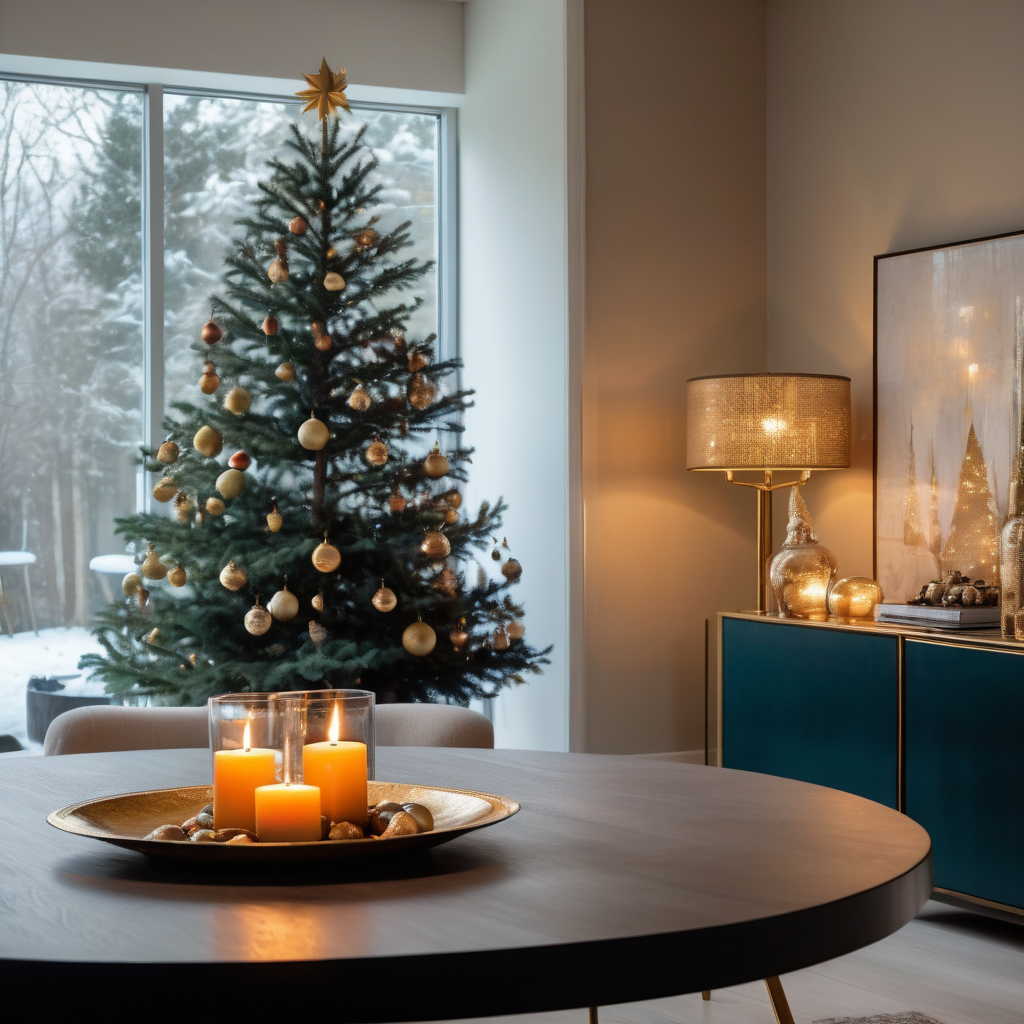
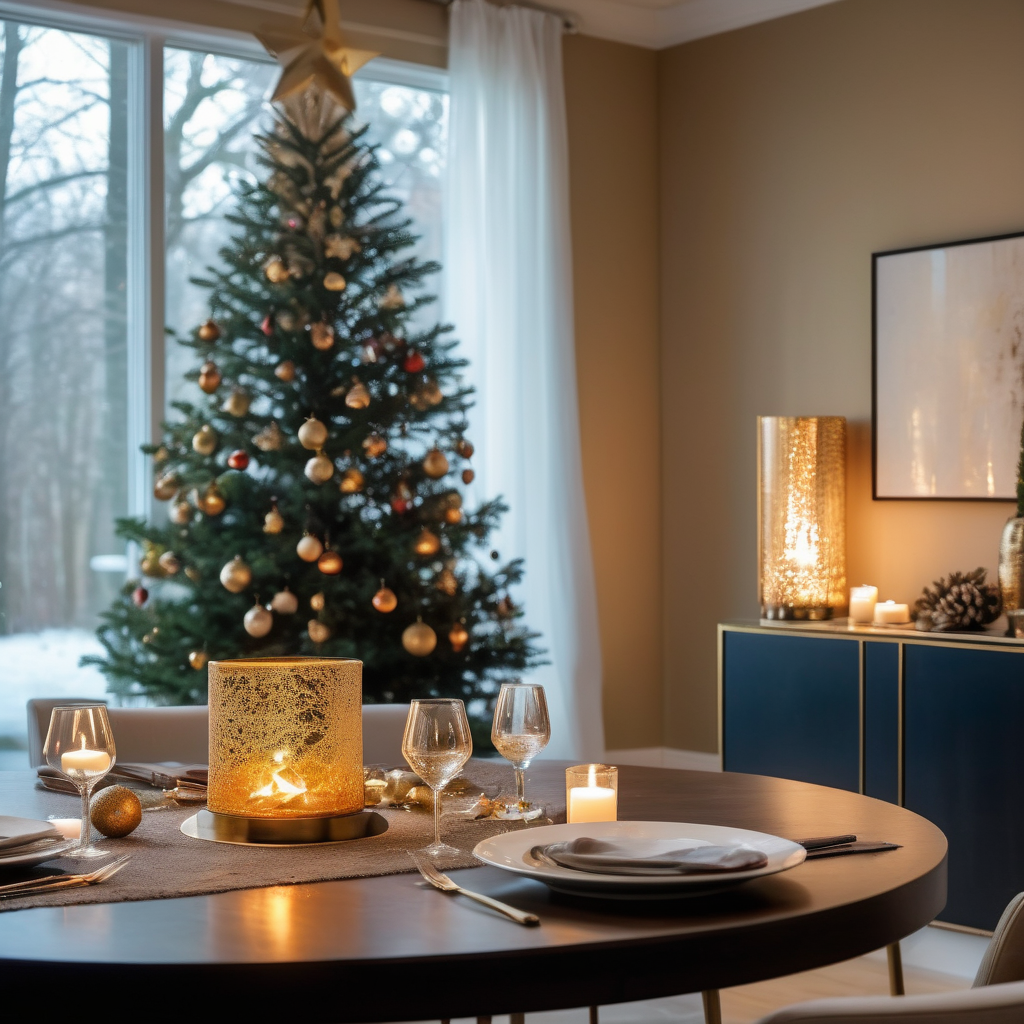
All these images were upscaled by a value of 2. We found that the quality compared to the 512 x 512 ratio is not comparable. Higher values were increasing render time considerably not adding too much value to the final result.
Hope you find this useful! We already have the next episode in the making!